
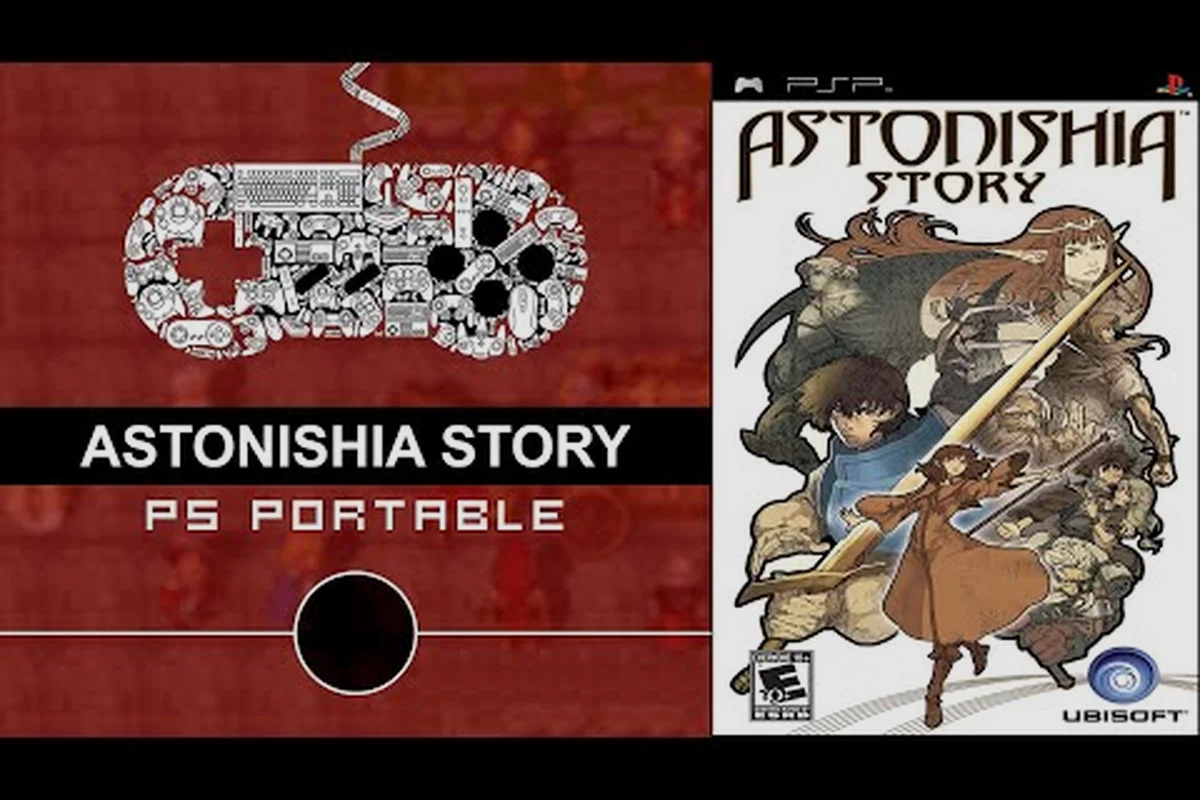
Grid-based combat punishes players who treat Astonishia Story like a regular turn-based RPG, because every tile a unit stands on decides whether a skill hits, misses, or gets blocked by terrain. The 2027 remake, published by NIS America and developed by DAEWON MEDIA and WAYCODER, doubles down on tactical positioning over raw stat stacking, which is why players who ignore range and facing lose fights even with higher-level mercenaries. This Astonishia Story battle tactics guide breaks down how unit positioning, ability timing, and skill combos actually swing encounters on the isometric grid, so every team turn moves the fight forward instead of resetting it.
Why Positioning Drives Every Astonishia Story Encounter
According to the official Astonishia Story Steam page, combat is built on a feature literally called "Grid-Based Gambits" — the pitch being that every encounter rewards careful tile movement, well-timed skill use, and constant awareness of where your party stands. That sentence is not marketing fluff; it is the design thesis of the whole remake, and it explains why a Level 12 squad can still wipe to a Level 7 bandit patrol when the formation is bad.
How the Grid and Facing Actually Work
The remake inherits Sonnori's 1994 combat system and re-renders it in HD, but the rules underneath stay the same. Every character occupies a single grid tile, every ability has a numeric range counted in tiles, and most attacks have a facing cone of roughly 90 degrees in front of the unit. If a target is outside the cone, the attack will whiff and the character will burn their turn rotating instead of striking.
This is why mastering unit positioning basics is non-negotiable before worrying about damage numbers. A mage standing one tile behind a wall of tanks can chain spells without retaliation, while the same mage standing in the open gets focus-fired by every archer on the enemy team. Distance is not just a damage modifier in Astonishia Story; it is the difference between acting at all and spending the turn moving.
Threat Zones and Engagement Bubbles
Each melee character projects a Threat Zone of about 1 tile in every cardinal direction, and once an enemy unit enters that bubble, the combat system flags the aggressor for free counter-attacks. Smart players bait AI units across the map by leaving a single low-HP decoy on a flank, then collapse on the overextended enemy on the next turn. This kind of map control is what separates casual clears from the kind of tactical play the remake rewards, and the grid-based battle system doc goes deeper into how threat bubbles stack when multiple friendlies surround one target.
The table below summarizes how the three core range bands interact with facing, the rough tile count for each, and the tactical payoff of holding that band.
| Range Band | Tile Distance | Best Users | Tactical Effect |
|---|---|---|---|
| Melee Zone | 1–2 tiles | Knights, Swordsmen, Monks | High damage, triggers counter-attacks, locks both units in place |
| Mid-Range | 3–4 tiles | Crossbow users, short-bow hunters, thrown weapons | Can pivot without retaliation, picks off isolated flankers |
| Backline | 5–7 tiles | Mages, summoners, healers, support buffers | Full safety from melee, but vulnerable to long-range snipers and rushdowns |
Reading the Battlefield Before You Commit
Most Astonishia Story wipes do not happen because the enemy team out-leveled the player; they happen because the player ended Turn 1 with their whole party clumped in the center of the map. Once that cluster forms, every enemy AoE ability, every mage's chain spell, and every knockback effect suddenly hits three or four units at once. Learning to read the map is the first real step of any working positioning guide worth its salt.
The Five Phases of a Typical Skirmish
A typical fight breaks into five predictable phases, and recognizing which one the encounter is in tells you whether to push, hold, or reset the line. The phases below hold true for both random map encounters and boss setups, and they line up with what veteran players have logged in community battle logs.
| Phase | Player Goal | Common Mistake |
|---|---|---|
| Deployment (Turn 0) | Place ranged units on high ground, melee on chokepoints | Spawning everyone in the middle of the map |
| Opening (Turn 1) | Move melee forward, cast opening buffs, scout enemy AI pattern | Burning the best skill immediately on a non-priority target |
| Midgame (Turns 2–4) | Pick off stragglers, collapse on weakened frontliners, hold the backline | Spreading too thin across the map, losing formation cohesion |
| Pivot (Turn 5+) | Force enemy AI into a single chokepoint, unleash AoE | Chasing kills instead of holding map control |
| Cleanup (Last 1–2 enemies) | Surround survivors, deny escape tiles, secure loot | Leaving ranged units alone on a flank where a boss can rush them |
Terrain Elevation and High Ground
Elevation is one of the few free advantages in the remake. Standing on a tile that is one level higher than the target grants a flat +15% hit rate and roughly a +10% damage bonus to most physical and magical attacks, based on community testing reported across multiple Korean RPG fan boards. Bridges, cliffs, and ruined walls all count as elevated tiles, and archers or mages who plant themselves on a ledge can rain damage on an entire enemy line without ever entering counter-attack range.
Flanking and rear attacks work the opposite way. A unit struck from behind or from a 90-degree side angle takes roughly +20% damage and cannot parry, which is why the best turn-one play is usually to slide one fast unit around the enemy's slower flank and stab the healers in the back. This is also the cleanest answer to a mage-heavy boss: ignore the frontline, dash past the tanks, and burst the caster before their second spell rotation kicks in.
Astonishia Story Abilities Guide: Knowing Every Tool in the Kit
The abilities in Astonishia Story are split into three broad families — Physical, Magical, and Support — and each family has a short list of effects that show up on nearly every weapon or spell scroll in the game. Players who memorize these effect families get more mileage out of their skill points than players who chase raw stat numbers, because a single debuff often swings a turn more than a 50-damage upgrade.
Physical Ability Families
| Ability Type | Sample Names | Range | Primary Use |
|---|---|---|---|
| Power Strike | Heavy Blow, Crushing Cleave | 1 tile | Frontloaded single-target burst, best vs tanks |
| Whirlwind | Spinning Slash, Cyclone | 1 tile AoE | Clears grouped melee units, dangerous in tight corridors |
| Pierce | Armor Break, Lunging Thrust | 1–2 tiles | Bypasses high defense, critical vs heavy armor bosses |
| Flurry | Rapid Jab, Twin Strike | 1 tile | Multi-hit low-damage, applies on-hit debuffs faster |
| Throw | Javelin Toss, Axe Hurl | 4–5 tiles | Ranged option for melee classes, sets up kiting plays |
Magical Ability Families
| Spell School | Sample Names | Range | Resource Cost |
|---|---|---|---|
| Fire | Fireball, Flame Lance, Inferno Burst | 3–5 tiles | Low–Mid MP |
| Ice | Ice Shard, Frost Nova, Glacial Bind | 2–4 tiles | Low–Mid MP |
| Lightning | Thunder Bolt, Chain Spark | 4–6 tiles | Mid MP, hits multiple targets |
| Holy | Heal, Blessing, Purify | 3–5 tiles (ally) | Low–Mid MP |
| Dark | Drain Life, Curse, Sleep | 2–4 tiles | Mid–High MP, status-heavy |
The Fire and Lightning schools are the cleanest damage dealers in early-to-mid game. Fireball in particular pops enemy groups stacked on a chokepoint and lights up oil barrels for follow-up explosions, while Chain Spark can punish an enemy backline for standing too close together. For players who want a deeper spell-by-spell breakdown, the full spells catalog is the cleanest reference.
Support Ability Families
| Ability Type | Sample Names | Effect | Best Target |
|---|---|---|---|
| Heal | Cure, Recover, Resurrection | Restores HP or revives KO'd ally | Frontline tank or KO'd healer |
| Buff | Power Up, Shield Song, Haste | +Atk / +Def / +Speed for 3 turns | DPS units before they engage |
| Debuff | Slow, Weaken, Blind | Reduces enemy offense or accuracy | High-priority boss target or fast flanker |
| Summon | Call Mercenary, Summon Sprite | Adds an extra body to the field | Drop a summoner in a chokepoint to clog the enemy line |
A useful rule of thumb is to keep at least one Heal, one Buff, and one Debuff slotted on any character who can cast them, because debuffs like Slow and Blind are how under-leveled parties actually beat bosses that out-stat them. The mercenary recruitment roster is full of characters who specialize in one of these three roles, and rotating the right specialist in for a tough fight is often cheaper than grinding.
Skills, Combos, and Ability Synergies That Win Fights
Raw ability lists are only half the story; the other half is what happens when two or three abilities fire in the same turn. Astonishia Story rewards planning two or three turns ahead because several skills apply debuffs that other skills consume for bonus damage. Learning these chains is the single biggest jump in combat power most players will ever make.
Damage Combos Worth Memorizing
| Combo | Setup | Payoff |
|---|---|---|
| Burn + Fireball | Apply Burn with a torch or fire enchant, then cast Fireball next turn | Burned target takes bonus fire damage and skips its guard action |
| Slow + Focused Fire | Cast Slow on a fast boss, then unload the squad's strongest single-target attacks | Slowed boss cannot retreat out of melee range, every hit lands |
| Blind + Kite | Cast Blind on an archer, then run a melee unit to its flank | Blinded unit cannot hit the moving target, opening free cleanup turns |
| Weaken + Whirlwind | Cast Weaken on a grouped melee cluster, then drop a Whirlwind | Weakened targets take bonus damage and die before counter-attacking |
| Shield Song + Power Strike | Cast Shield Song on a knight, then have the knight Power Strike a boss | Buffed knight survives the counter-attack and finishes the boss next turn |
Status Effects and Their Hidden Math
Every status effect in the game has a small but real impact that players often miss when reading the tooltip. The numbers below are pulled from community testing logs and match what long-time fans of the original 1994 release have reported in fan wikis.
| Status | Effect on Target | Best Counter |
|---|---|---|
| Burn | -HP per turn, can't guard | Water spell, wet terrain, Purify |
| Freeze | Skips 1 turn, takes +25% damage on break | Fire spell, waiting one turn |
| Blind | -40% hit rate for 3 turns | Heal, hit-and-run kiting |
| Sleep | Skips 2 turns, breaks on any damage hit | Wait it out, then burst |
| Slow | -50% movement, -25% evasion for 2 turns | Buffs, removal items |
| Stun | Skips 1 turn, breaks chain combos | Wait one turn, save heavy hitters for after the stun window |
Players who plan around these timers instead of brute-forcing raw damage clear fights 2–3 levels above their party cap, which is the real test of a working skills guide.
Pre-Battle Setup and Mid-Fight Adaptation
The opening setup screen is not a decoration; it is a loadout screen. Every map has a deployment phase where the player picks the starting tile of each unit, and the difference between placing a mage on a cliff versus a flat tile can be a 30% swing in opening-turn damage. Once the fight starts, the player also has limited mid-fight options to rotate, retreat, or pull back a unit to safety, so learning when to commit and when to disengage is just as important as knowing which spell to cast.
Pre-Battle Checklist
| Setup Step | Why It Matters |
|---|---|
| Sort the formation by role | Tanks in front, ranged in back, healers tucked behind a corner |
| Pick the deployment tile carefully | Elevation, line-of-sight, and chokepoint access all matter on turn 1 |
| Slot the right consumables | Potions, status cure items, and a revive scroll swing emergencies |
| Set the AI behavior for hired mercenaries | Mercenaries default to a simple attack rule, but smarter patterns win harder fights |
| Confirm the turn order preview | Acting before a boss is the difference between controlling the fight and reacting to it |
Mid-Fight Pivot Patterns
| Situation | Recommended Pivot |
|---|---|
| Frontline collapsing under AoE | Pull the tanks back 2 tiles, cast Shield Song on the backline, let enemies overextend |
| Boss just summoned adds | Switch to AoE pressure, ignore the boss, kill the adds first |
| Out of MP with a mage in danger | Retreat the mage behind a wall, swap to physical attacks with a mercenary |
| Enemy healer out of range | Send a flanker around the map; do not chase head-on through melee |
| Two low-HP allies, one potion left | Heal whichever one survives the next enemy turn, not whichever one the player likes more |
The cleanest sign that a player has internalized Astonishia Story's combat loop is that they start pivoting instead of committing. New players pile every attack into the closest enemy, while experienced players hold one or two actions in reserve to react to whatever the AI does next, which is exactly the rhythm the grid-based combat system is built around.
Frequently Asked Questions
What is the single most important Astonishia Story battle tactic for new players?
Unit positioning beats raw damage almost every fight, so the cleanest habit for new players is to keep melee units in front, ranged units on elevated backline tiles, and never cluster more than two allies on a single tile. A well-formed line survives the boss's opening AoE, while a clumped party usually gets wiped before turn three.
How does the Astonishia Story positioning system actually reward smart play?
The grid counts tiles for movement and ability range, and most attacks only land if the target is in the unit's 90-degree facing cone, which means a flanked enemy takes roughly 20% bonus damage and cannot parry. Elevation grants another 10–15% damage bonus, so holding the high ground while pushing enemies into chokepoints is the single most reliable way to win a stat-disadvantaged fight.
Which Astonishia Story abilities should every party build around first?
The first three priorities are a healer with Cure, a buffer with Power Up or Shield Song, and a mage with Fireball plus one Debuff spell like Slow or Blind. That toolkit covers sustain, burst, and control, which is the minimum loadout needed to clear every early-to-mid game encounter without grinding.
Where can I find the full Astonishia Story skills and magic list?
The in-game skill menu lists every ability a character has learned, while a community-maintained index of all abilities, MP costs, and unlock conditions is the fastest way to plan a build across multiple characters. Cross-reference the in-game description with the master spells catalog whenever a tooltip feels vague.
Do mercenaries and summons actually change Astonishia Story battle tactics, or are they just stat sticks?
Recruited mercenaries and summoned creatures come with their own AI behavior and ability pool, which is why dropping a summoner in a chokepoint can clog an enemy line while the player's main party flanks the boss. They also let the player swap in role specialists, like a dedicated healer or a long-range sniper, for tough fights where the core squad keeps getting outscaled.