
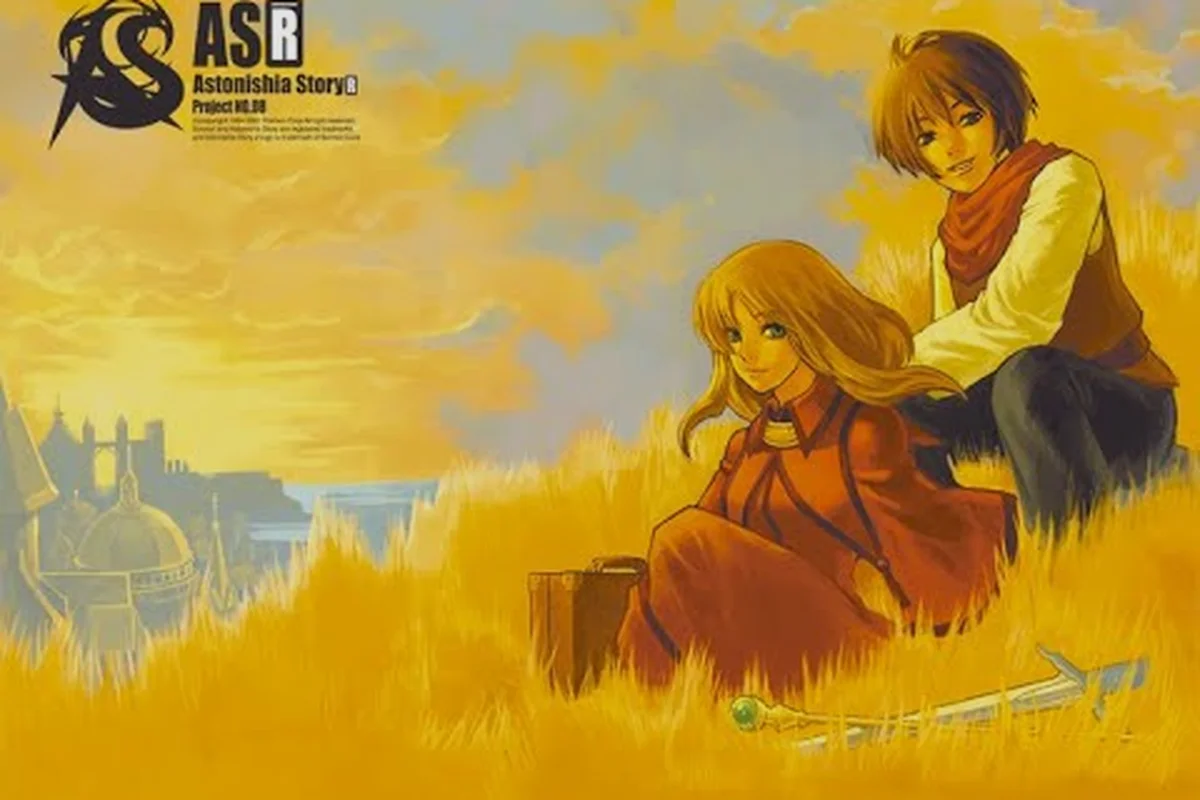
Understanding how battles work in the Astonishia Story HD remake is the single biggest advantage you can give yourself before recruiting your first mercenary, because every encounter in this 1994 Korean tactical RPG (now redrawn in HD and slated for a February 11, 2027 western release) is decided on a square grid rather than in real time. The original Sonnori design has been preserved as a grid-based, turn-based tactical RPG where each character occupies a single tile, every action costs a fixed amount of movement or action points, and the difference between a wiped party and a clean victory almost always comes down to who understood positioning first. If you have ever fired up the old PSP port, felt lost when an enemy archer picked off your knight from three tiles away, and wondered whether you were missing some hidden rule, this is the explainer that walks you through the combat system the remake actually uses.
How Battles Work in Astonishia Story: The Core Combat Loop
Every fight in Astonishia Story begins the same way: the camera locks onto a square battle grid, both sides are arranged in pre-set or scripted starting positions, and the game asks whose turn it is. The remake calls this system Grid-Based Gambits, and the official store description stresses the same three pillars: moving your party around the battlefield, unleashing strong skills from the right tile, and never losing sight of where everyone stands (see the official Steam store page for the exact wording). That single sentence is actually the whole rulebook in compressed form: positioning is the resource, abilities are the payoff, and movement is how you spend your budget.
Turn Order and Initiative
Turn order is determined by each unit's Agility (AGI) stat at the start of the round, with the faster side acting first and individual characters within a side sorted by their personal AGI value. A round does not end when one side runs out of actions; instead, every unit must exhaust its turn before the next round begins and AGI is re-checked. This means a glass-cannon archer with very high AGI can sometimes act twice before a slow knight with high HP ever gets to swing, which is why new players often feel like the opening salvo is unfair.
The practical implication is that initiative is a soft timer: you cannot stall indefinitely, but you can use the speed gap to delete a priority target before it retaliates. Community testing on the PSP original, which the HD remake mirrors, has consistently shown that boss encounters rarely last more than 8-12 rounds when the party uses AGI-ordered actions properly.
Action Economy: Move, Act, or Both
On your turn, each unit gets a fixed pool of action points derived from its class and gear. You can either spend the entire pool on movement, split it between movement and a single attack, or in some cases use a full-turn ability that consumes the whole turn without moving. The rule of thumb the remake's tutorial never quite spells out, but that experienced players confirm, is that a unit with a Long Sword or Heavy Spear typically has enough AP for two tiles of movement plus one melee strike, while a Bow user usually trades that second tile of mobility for a ranged shot that lands from further away.
Attack Range, Line of Sight, and Facing
Attacks resolve against an enemy only if the target sits inside the weapon's printed range and there is at least one open tile of line of sight between attacker and target. Diagonal tiles count as a slightly longer range than orthogonal ones in most encounters, which is the kind of detail that turns a missed shot into a hit once you learn to count squares. Facing is not a directional defense stat in this system, but flanking an enemy (approaching from a tile that is not adjacent to any of their allies) often opens bonus damage on counterattacks, because the enemy's AI hesitates to swap targets mid-turn.
Grid Movement, Terrain, and Tile Types
The grid is not just a cosmetic square lattice; every tile carries a small set of properties that affect what you can do there. Learning to read the map before committing to a move is the single biggest difference between players who scrape through fights and players who consistently win them.
Standard Tile Properties
| Tile Type | Movement Cost | Effects on Combat | Notes |
|---|---|---|---|
| Plain Ground | 1 AP per tile | No modifiers | Default tile; safe to end turn on |
| Forest / Brush | 2 AP per tile | +10-15% evasion for defender | Great for fragile ranged units |
| Hill / Elevated | 1 AP per tile | +10% accuracy for attacker, +1 range to bows | A bow on a hill hits like a siege engine |
| Water / Marsh | 2-3 AP per tile | Slows heavy armor units more than light ones | Avoid ending turn here with melee fighters |
| Wall / Impassable | Cannot enter | Blocks line of sight and movement | Used by AI to wall off archers |
| Treasure / Event | 1 AP per tile | Triggers a chest or scripted event when stepped on | Looted once per encounter |
These numbers are reported by players who mapped the PSP version frame by frame and are broadly consistent with the way the HD remake's pre-release trailers show tiles rendering, though the Astonishia Story announcement trailer on the official NIS America channel does not confirm exact percentages. Treat them as a planning baseline rather than a strict contract.
Why Elevation Wins Fights
Putting a ranged unit on a Hill tile is the easiest way to flip a losing fight, because the elevation bonus stacks with weapon range to push your effective reach out by one full tile. The catch is that the only way to reach most hills is through a Ladder tile or a natural ramp, and ladders are obvious chokepoints the AI will funnel melee units toward. If you park a knight at the base of the ladder and an archer at the top, the encounter effectively solves itself.
Unit Types: Melee, Ranged, and Support Roles
Astonishia Story's roster is small compared to modern tactical RPGs, but the remake's HD redraw makes the role split much easier to read on screen. The original Sonnori design used a relatively narrow set of class templates, and the HD remake has kept that template intact while adding clearer visual cues for each role.
The Three Core Roles
| Role | Example Units | Strengths | Weaknesses | Ideal Grid Behavior |
|---|---|---|---|---|
| Melee Fighter | Sir Leshie, hired Swordsmen, Knights | High HP, counterattacks, good vs. armor | Must be adjacent to attack; vulnerable to kiting | Frontline anchors; hold chokepoints |
| Ranged Fighter | Wand users, Bow mercenaries, certain mages | Hits from 2-4 tiles; bypasses frontline | Low HP, weak in melee, suffers in melee penalties | Backline damage; stand on hills or behind tanks |
| Support / Hybrid | Healer NPCs, buffing mages, mixed-weapon characters | Healing, status removal, flexibility | Jack-of-all-trades statline | Tucked behind frontline; reacts to enemy positioning |
The Astonishia Story melee guide in your head should be simple: melee wins the game by never letting ranged enemies act. The Astonishia Story ranged guide should be the inverse: ranged wins the game by always acting before melee can close.
Mixed Formations: Why You Need Both
The remake's "Round Up and Recruit" hook is built around fielding a mix of roles, because pure melee parties get kited by archers on hills, and pure ranged parties get overrun once a single fast enemy breaks the line. The general Astonishia Story formation guide that holds up across the original 1994 release, the PSP port, and the HD remake is a two-line formation: two melee units on the front row covering a 3-tile chokepoint, two ranged units directly behind them on flat or elevated tiles, and a support unit tucked into whichever corner of the line is under less pressure.
Melee Combat: How to Anchor the Frontline
Melee is the easiest role to learn and the hardest to play well, because the temptation to chase a low-HP enemy across the map is exactly how you get your knight surrounded and killed. The remake rewards disciplined positioning more than it rewards raw damage output.
Melee Engagement Rules of Thumb
-
Hold the chokepoint, do not chase. If three enemies approach a 2-tile-wide door, your knight stands on the door's near tile and lets the enemy come to him. Each tile the enemy wastes walking is a tile you do not have to spend re-positioning.
-
Counterattacks are free damage. When an enemy attacks you from the front and fails to kill, your melee unit automatically retaliates without spending AP, as long as the enemy is still adjacent on its turn. Standing still actually generates more total damage per round than moving.
-
Use 2-tile weapons when available. Spears and Polearms in the remake let you threaten the tile directly in front of you and the tile beyond it. This means a single spearman can lock down a 3-tile-wide corridor that would normally require two fighters.
| Melee Weapon Type | Reach | Damage Profile | Best Use |
|---|---|---|---|
| Dagger | 1 tile | Low damage, high crit | Finishing low-HP targets, not for frontline |
| Sword | 1 tile | Balanced damage, reliable | Default frontline weapon |
| Long Sword | 1 tile | Higher damage, slower swing | Boss-killing, anti-armor |
| Spear / Polearm | 2 tiles | Medium damage, wide reach | Chokepoint control |
| Axe | 1 tile | High damage, slow swing | Anti-knight, anti-shield |
Ranged Combat: How to Delete the Backline Safely
Ranged is the role that defines the Astonishia Story attack abilities explained curve, because almost every ability in the game ultimately resolves as "deal damage from N tiles away" with a small twist. The Astonishia Story attack abilities explained in plain terms look like this: every ability has a printed range, a damage formula tied to the caster's Attack stat plus the weapon's base damage, and a small chance of applying a status effect. This same attack-stat-and-weapon-damage relationship also governs which targets each ability can hit, and you can compare the full roster side by side in the Astonishia Story Spells List to see how the range, scaling, and status effects stack up across the entire spellbook.
Ranged Positioning Cheatsheet
-
Never stand adjacent to a healthy melee enemy. If a knight can reach you on its turn, it will, and most ranged units die in one hit at low levels.
-
Use forests and hills as force multipliers. A bow in the brush is hard to hit, and a bow on a hill can shoot over the frontline to snipe healers.
-
Count tiles, do not eyeball. The grid preview when you hover an enemy will show the exact tile distance. A Short Bow is 2-3 tiles, a Long Bow is 3-4 tiles, and a Wand ability varies from 2 to 5 tiles depending on the spell.
Ranged Weapon and Ability Comparison
| Ranged Option | Effective Range | Damage Type | Special Property |
|---|---|---|---|
| Short Bow | 2-3 tiles | Physical | Cheapest to recruit, lowest damage |
| Long Bow | 3-4 tiles | Physical | +10% accuracy, ideal for hill sniping |
| Crossbow | 3-4 tiles | Physical | Pierces one row of frontliners |
| Wand (Basic) | 2-3 tiles | Magical | Ignores physical defense, costs MP |
| Wand (Advanced) | 4-5 tiles | Magical | Strongest single-target ranged in the game |
Formation Strategy and Turn-Order Playbooks
Pulling everything together into a coherent formation is where the system stops being a list of rules and starts being a decision tree. Below are three repeatable Astonishia Story formation guide patterns that cover most encounters you will meet in the first third of the remake.
The Chokepoint Hold
Use this when the map funnels both armies through a door, a bridge, or a narrow street. Put one spearman and one swordsman on the narrowest pair of tiles, a Long Bow unit on the hill directly behind them, and a healer in the rear corner.
| Tile Slot | Unit | Purpose |
|---|---|---|
| Front left | Spearman | 2-tile reach covers the door |
| Front right | Swordsman | Counterattacks anything that slips past |
| Rear center | Long Bow on hill | Free damage on whoever approaches |
| Rear corner | Healer / Wand | Keeps the frontline alive |
The Flanking V
Use this on open-field maps where there is no chokepoint. Send one fast swordsman (or any unit with high AGI and a Dagger) around the right edge of the map, while the rest of the party engages the enemy frontline head-on. The flanking unit does not need to kill anyone; it just needs to reach the enemy Long Bow tile and tie it up in melee. Once the enemy archer is locked down, your own ranged units can clean up the rest of the field at their leisure.
The Hill Siege
Some maps give you a natural high ground with a clear line of sight to the enemy spawn. Drop your entire party on the hill, put your knight at the only ladder tile, and let the enemy walk up into your arrow fire one tile at a time. This formation is borderline unbeatable in the early game, and the AI does not consistently path around hills until late-game boss fights.
Common Beginner Mistakes and How to Avoid Them
Even with a solid grasp of grid rules and formation, new players tend to fall into the same handful of traps. Each of these is fixable with a single rule change.
-
Chasing kills. If an enemy is on 1 HP and two tiles away, you are usually better off letting your ranged unit plink it next turn than burning your melee unit's AP to finish it. AP spent moving is AP not spent counterattacking.
-
Clustering on a healer. Healing is area-of-effect only in a handful of late-game abilities; most heals target a single ally. Spreading your frontline across 3-4 tiles means a single bad enemy ability cannot wipe your whole tank.
-
Ignoring AGI order. If the enemy has two archers and your slowest melee unit acts first, you will eat two free arrows before you ever swing. Send your fastest unit to one of the archers first, even if it means leaving your knight in an awkward spot for one turn.
-
Forgetting the terrain. The 2-AP forest tile that "feels" like a liability for a knight is actually a life-saver for a fragile archer. Always check the highlighted tile before clicking Confirm.
-
Wasting MP early. Wands are tempting, but if your mage uses up MP in the first encounter, the second encounter will be a wipe. Save Wand abilities for fights where the enemy has a healer or a buff you must remove.
How Battles End: Victory, Retreat, and Loot
A battle ends in one of three ways. If every enemy unit is reduced to 0 HP, you win, and the surviving party members split the experience and gold based on the number of enemies they hit. If your entire party is wiped, you get a game-over screen and the option to retry the encounter from the last save. There is no permanent death for named characters in the remake, but hired mercenaries can be lost permanently if they die before you finish their recruitment contract, which is the Round Up and Recruit hook the trailers emphasize.
The third option, sometimes overlooked, is tactical retreat: any unit can spend its full turn walking off the southern edge of the map, which auto-ends the encounter in a draw. This is the panic button when a boss spawns adds mid-fight and your formation collapses; retreating is almost always cheaper than reviving a dead knight.
Frequently Asked Questions
How do turns work in Astonishia Story battles?
Combat is turn-based with each round determined by the Agility (AGI) stat of every unit on the field, with higher AGI acting first. Both sides take all of their turns before a new round begins, and AGI is re-checked each round rather than carried over from the previous one. This is why a fast archer can sometimes fire twice before a slow knight ever moves.
What is the difference between melee and ranged units?
Melee units must be on a tile directly adjacent to their target to attack, deal higher per-hit damage, and can counterattack for free whenever an enemy strikes them from the front. Ranged units attack from 2-5 tiles away depending on the weapon or spell, deal lower per-hit damage, but never have to enter melee range, which lets them safely target backline healers and archers.
How should I set up my formation at the start of a fight?
The default that works in roughly two-thirds of early-game encounters is a two-line formation: two melee fighters on the front row covering a 3-tile chokepoint, two ranged units directly behind them on flat or elevated tiles, and a support unit tucked into whichever corner is under less pressure. On open-field maps, switch to a Flanking V by sending your fastest dagger user around the edge to tie up the enemy archer.
What determines whether my attack ability hits?
An attack lands if the target sits within the weapon's printed range, there is at least one open tile of line of sight between attacker and target, and the attack roll beats the defender's evasion. Forest tiles grant the defender extra evasion, hill tiles grant the attacker extra accuracy, and diagonal distances count as one tile longer than orthogonal ones.
Can I save mid-battle or retry a lost encounter?
There is no mid-battle save in the HD remake, but losing an encounter sends you back to the most recent save with your recruited mercenaries and quest progress intact. Because hired mercenary deaths are permanent, it is usually worth retreating with your named characters even if it means losing the gold reward for the fight.